Revitalizing Red Oak Floors with Rubio Monocoat: A 7-Year Case Study
Posted by Aaron Schaalma
Rubio Monocoat Hardwood Floor Finish: A 7-Year Review
When it comes to hardwood floor finishes, Signature Custom Flooring has a variety of options we love to use. In this post, we're focusing on Rubio Monocoat and how it has held up over a 7-year span.
Why We Recommended Rubio Monocoat for Red Oak Floors in Oshkosh, WI
Seven years ago, we suggested using Rubio Monocoat on red oak floors for a few key reasons:
- Natural Aesthetic: Rubio Monocoat offers a hard wax finish that enhances the true beauty of the red oak. Unlike traditional film finishes, it allows the natural wood grain to shine through without the look of a plastic film.
- Durability and Easy Maintenance: In a lively household with a lot of foot traffic, Rubio Monocoat makes touch-ups straightforward, especially when the floor is colored. The finish penetrates the wood, making dents and dings less noticeable.
- Less Visible Scratches: Since the color and finish are embedded in the wood, scratches are less reflective and therefore less noticeable. This makes the floor look better over time compared to traditional film finishes.
7 Years Later: Re-oiling Red Oak Floors with Rubio Monocoat
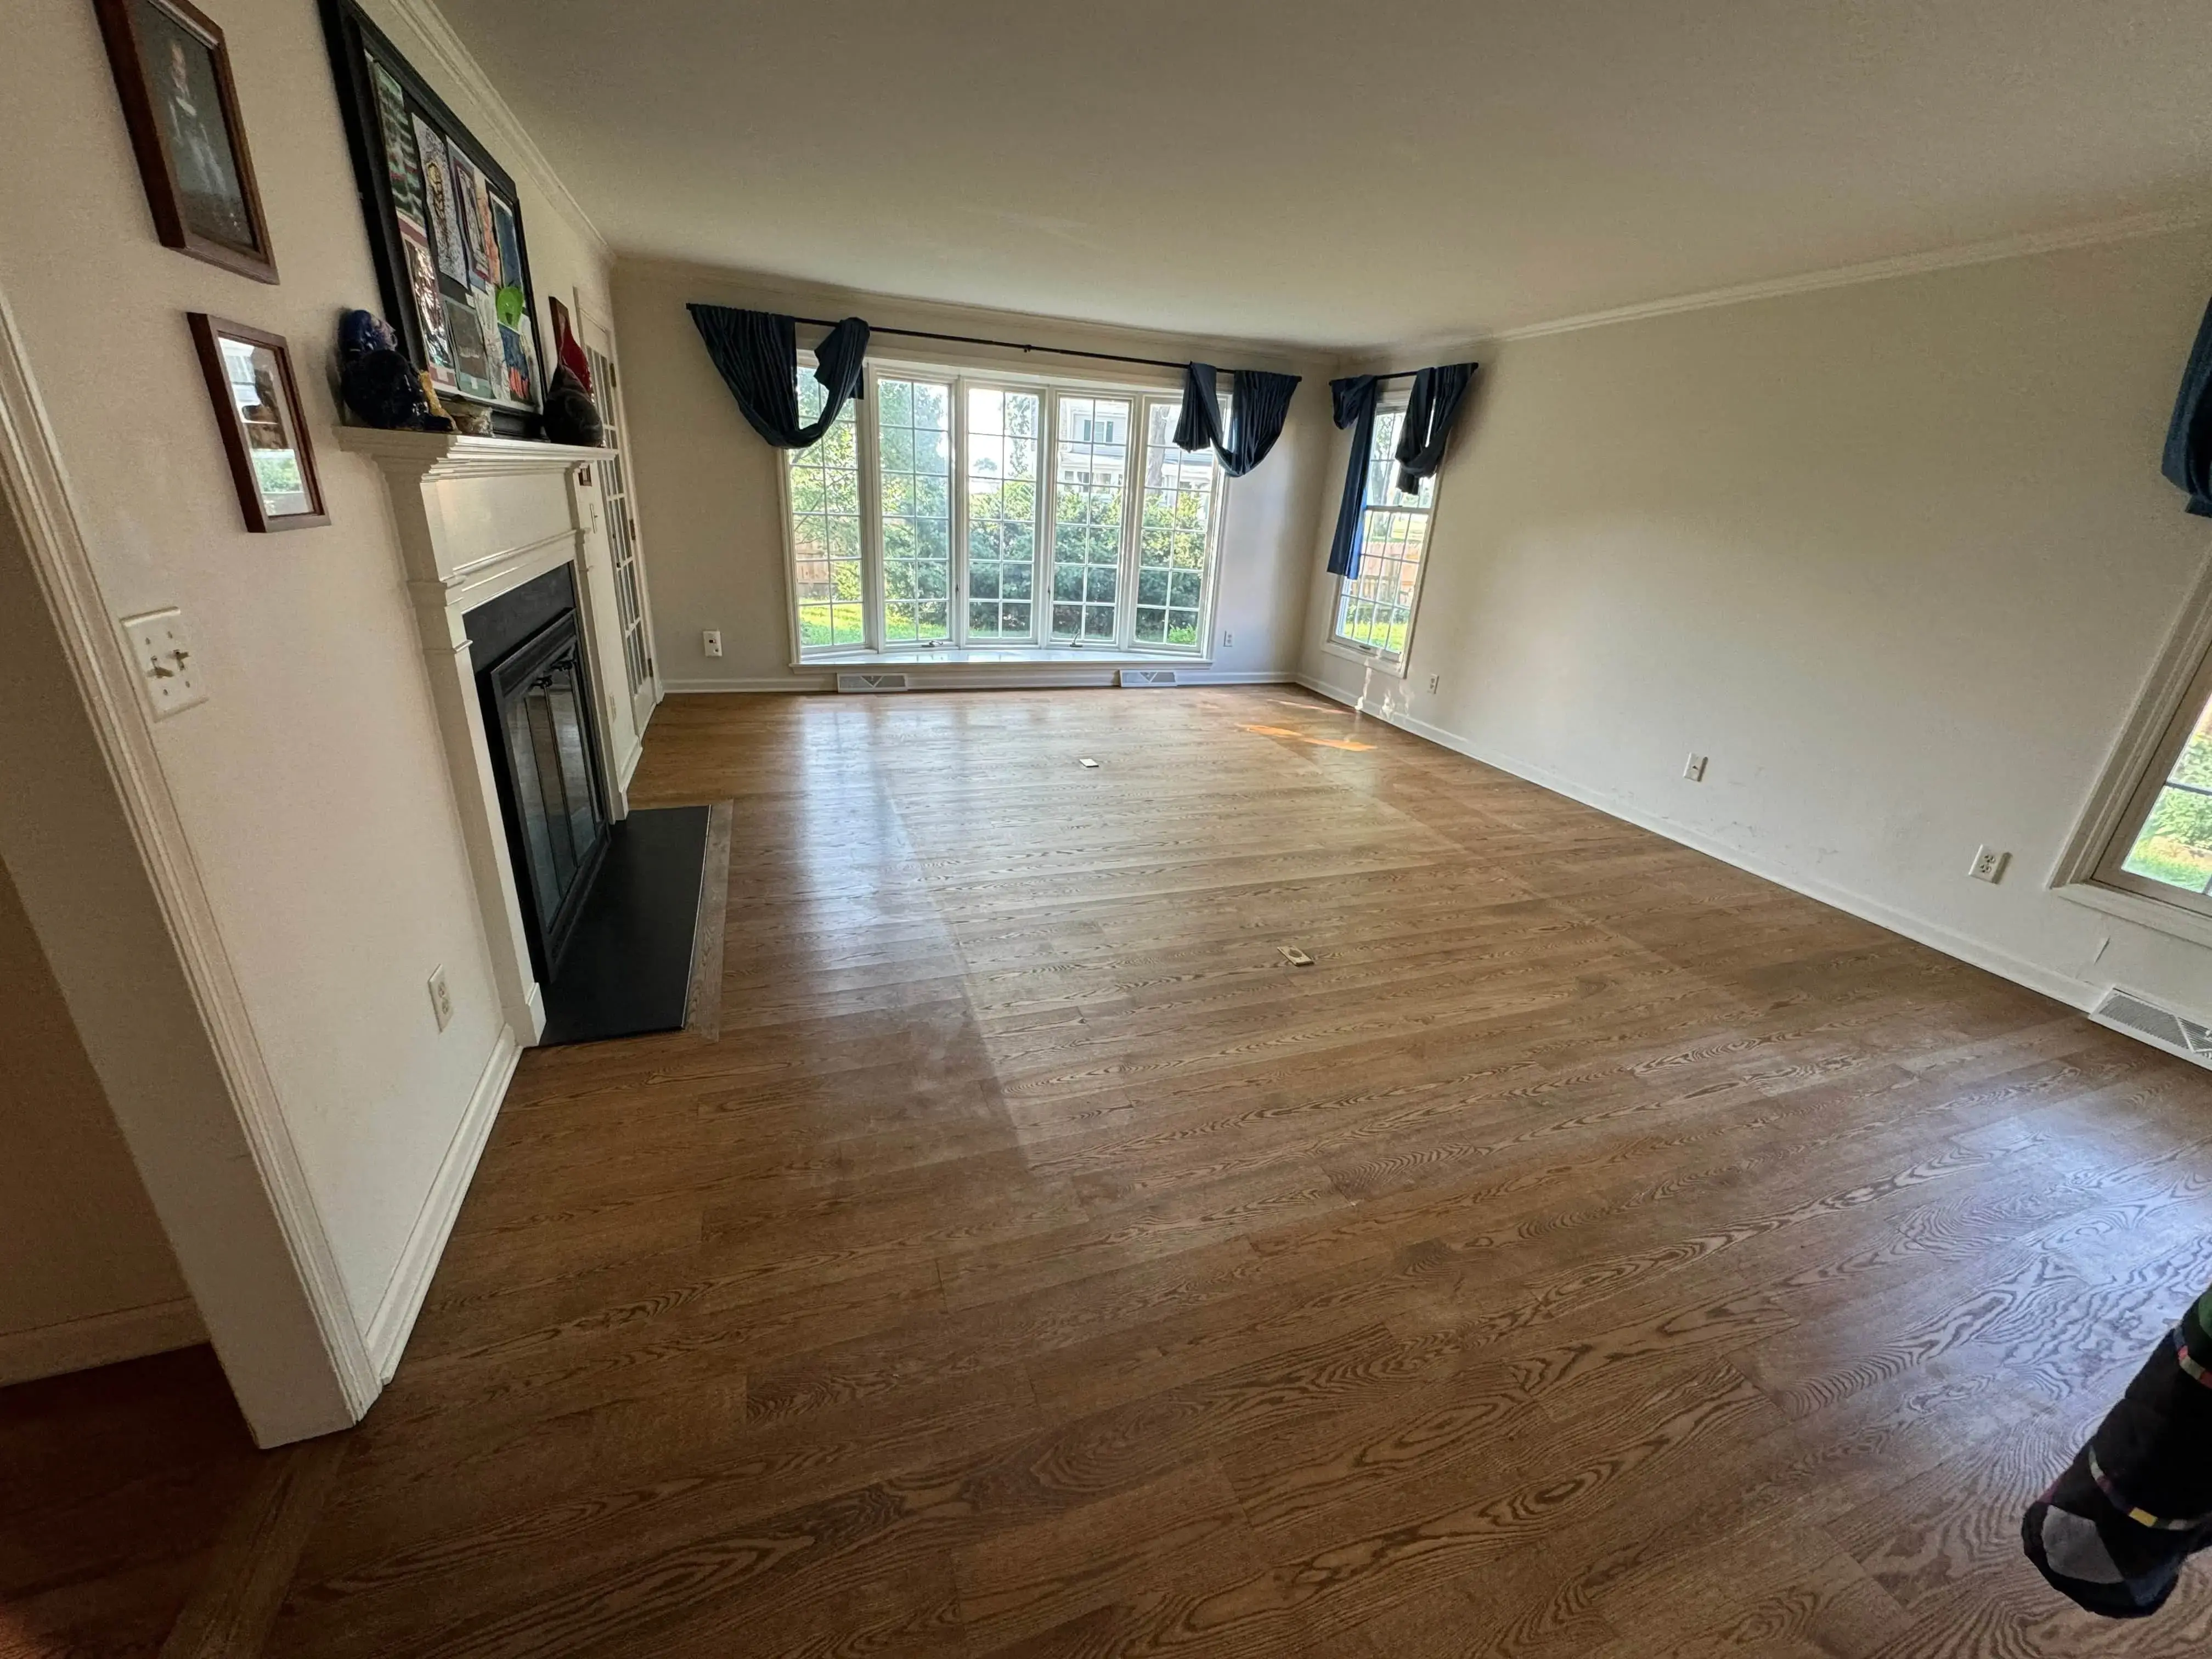
Fast forward to today, we returned to re-oil the red oak floors in Oshkosh, WI. One of the key benefits of using a hardwax finish like Rubio Monocoat is that it allows for rejuvenation. When re-oiling, marks and wear patterns can be refreshed with the same color as the original application. This is particularly helpful in areas exposed to a lot of sunlight, where fading can occur.

Step 1: Cleaning the Hardwood Floors
Before re-oiling, we thoroughly clean the floors:
- Vacuuming: We start by vacuuming to remove any debris. This step prevents grit from being caught under the buffer, which could cause scratches.
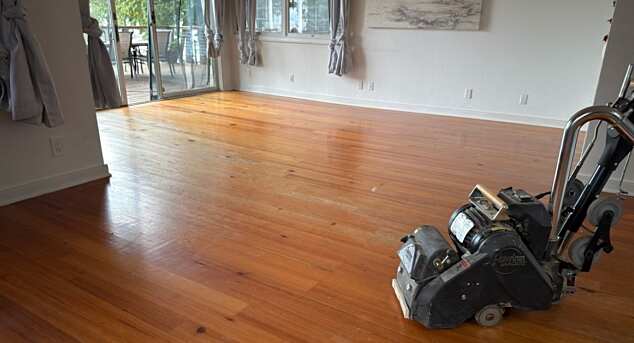
- Scouring: Using a fine scouring pad, we address all edges and corners to open up the grain and prepare the surface. We continue with the same pad on a buffer to ensure any spills or debris are removed.

Step 2: Applying the Rubio Monocoat Finish
- Hand Application: We begin by hand-rubbing Rubio Monocoat into the edges and corners.
- Buffer Application: Next, we use a buffer pad with Rubio Monocoat, working in smaller sections to ensure even coverage. The oil is allowed to penetrate the wood, after which excess oil is removed using a clean towel and buffer pad.

The Result: Revitalized Red Oak Floors
After re-oiling, the red oak floors in Oshkosh, WI look revitalized and ready for many more years of use. The use of the correct Rubio Soap by the client has also helped prolong the life of these beautiful floors.
Before and After: Rubio Monocoat on Red Oak Floors
Here are some before and after photos of the re-oiled red oak floors:
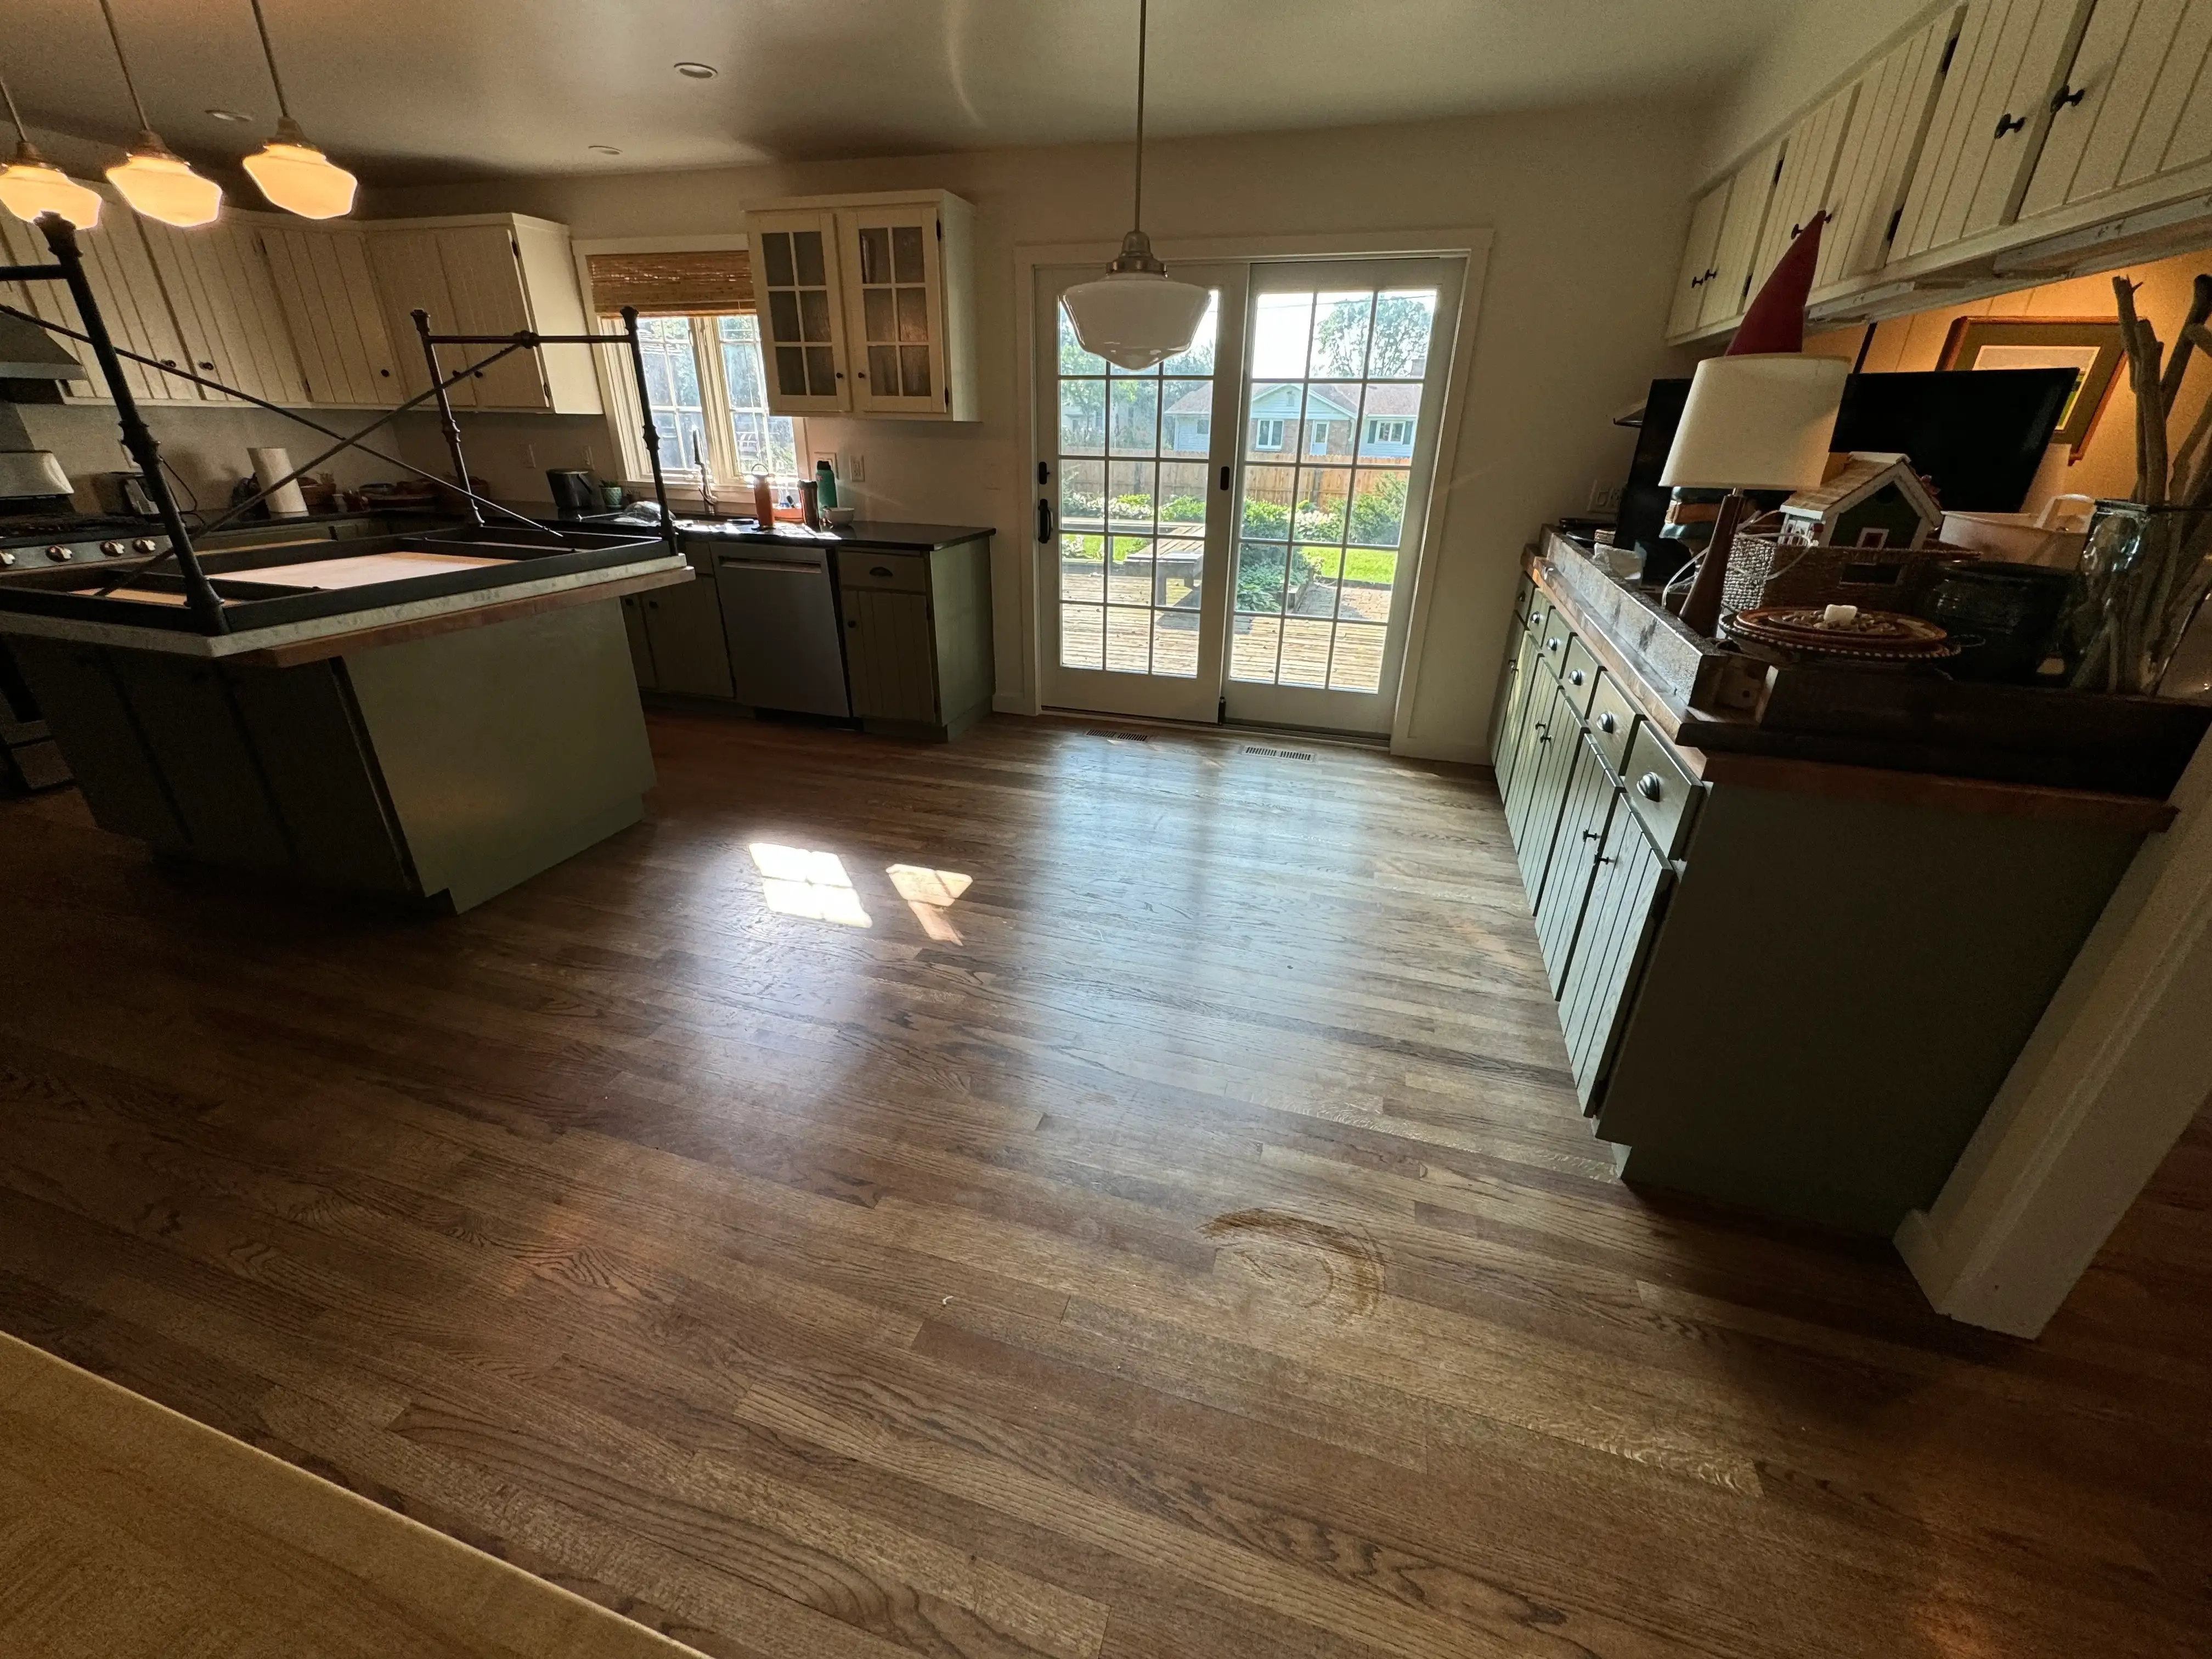
- Before: Red oak floors showing wear patterns and fading.
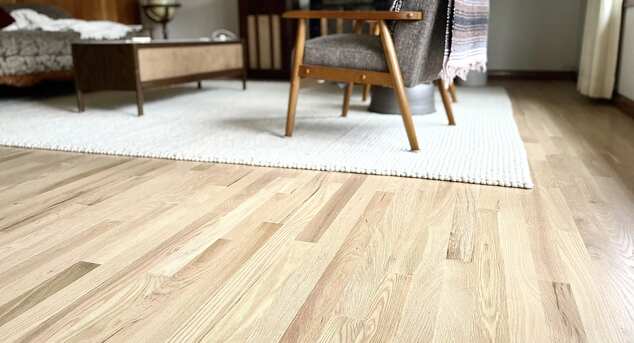
- After: The vibrant, revitalized look of the red oak floors after re-oiling.
- Kitchen Floors: Transformed from worn to stunning with Rubio Monocoat.
- Foyer Floor: Seven years later and still looking great.


