Elevate Your Foyer with Custom Wood Pattern
Posted by Aaron Schaalma
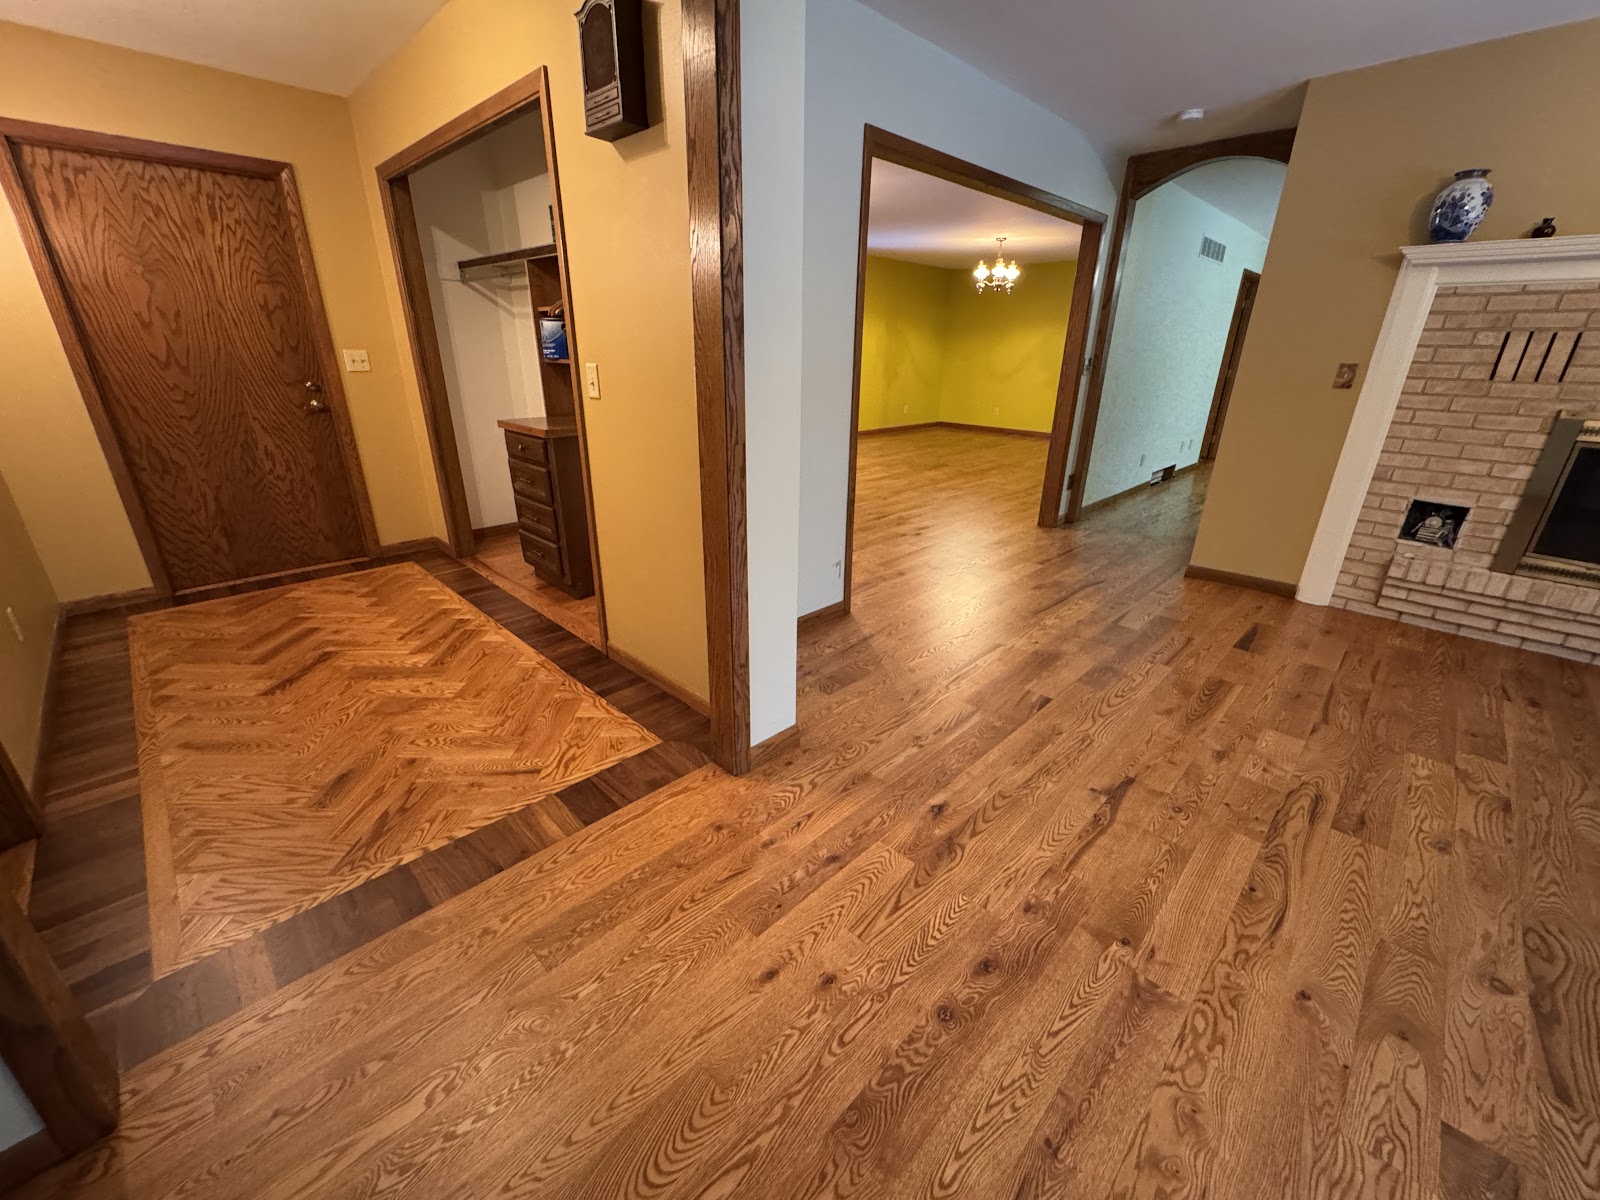
Every flooring project has its own unique journey. This one in Stevens Point was no exception. When we first walked through the space, something about the foyer immediately caught our eye. It was spacious, with potential just waiting to be unlocked.
As we were preparing to install 5" red oak flooring throughout the main areas, we started imagining something special for the foyer. Why settle for “standard” when you could create something extraordinary? We pitched the idea of a custom design to our client and—to our delight—they were all in!
The Design Takes Shape
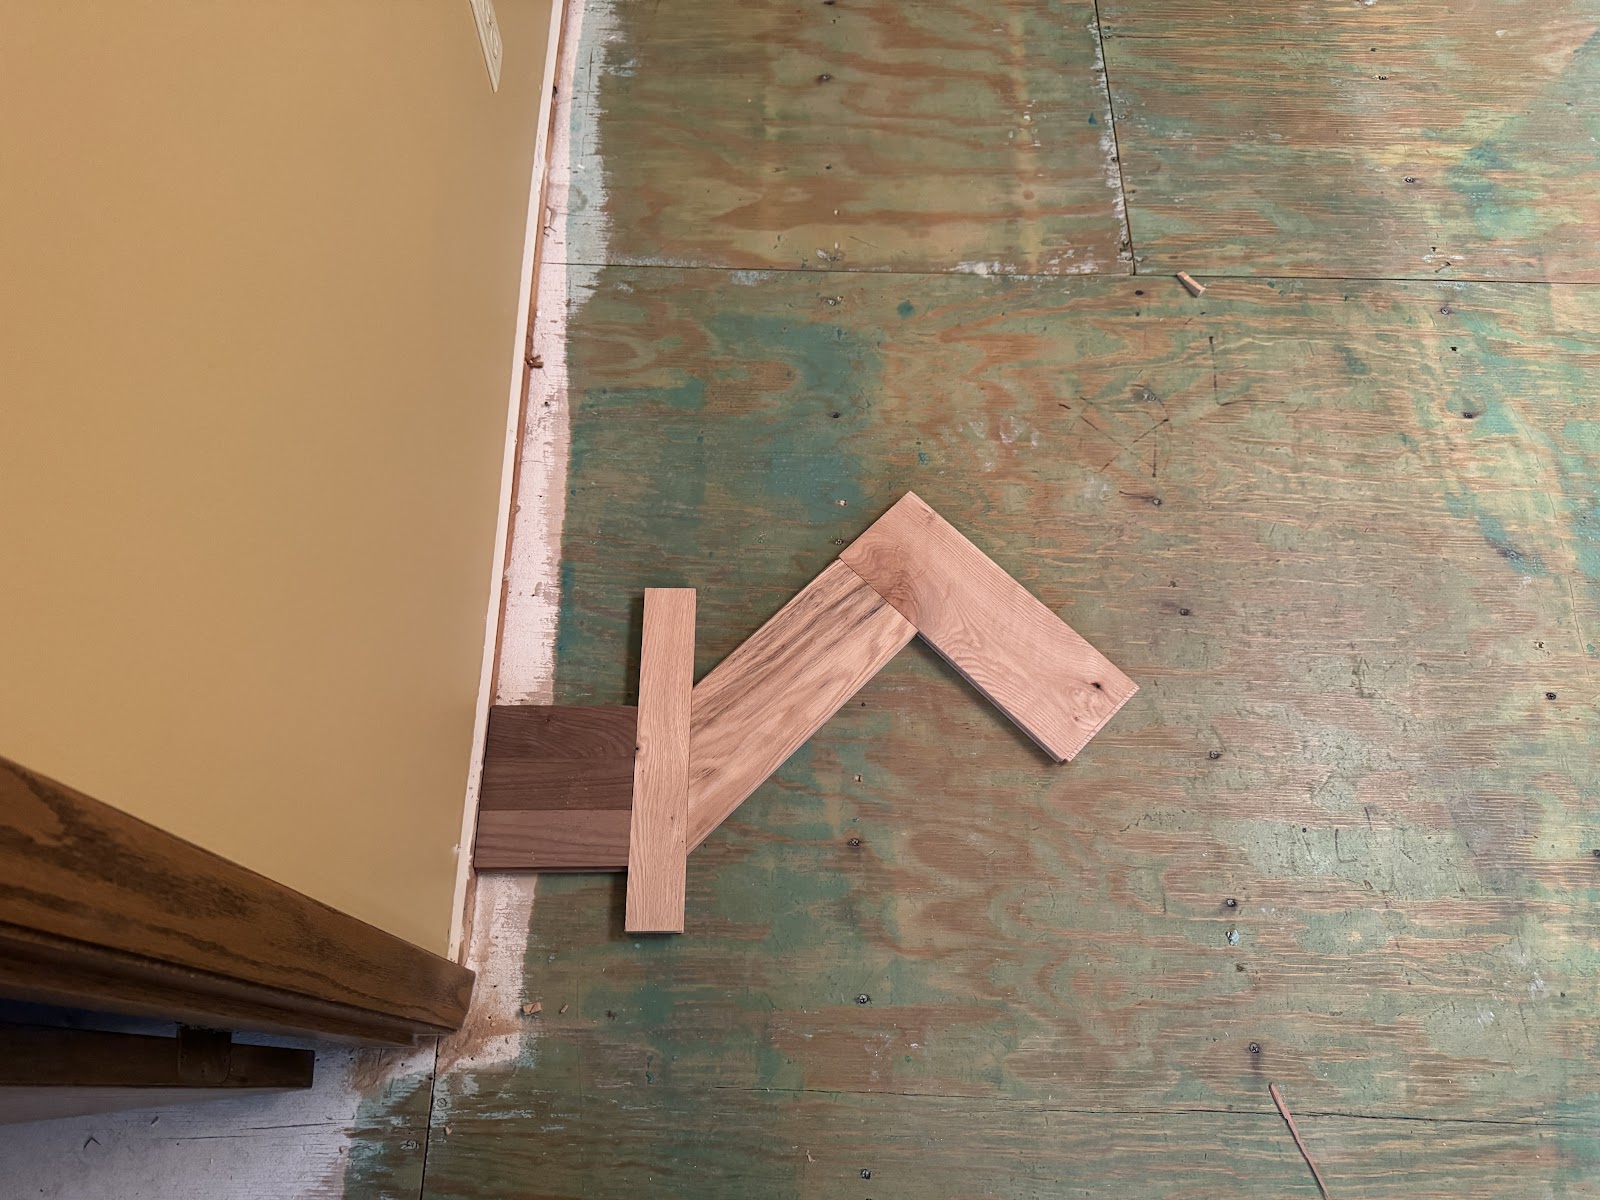
We wanted to play with different wood tones, specifically combining walnut and red oak. A quick mock-up was all it took to get everyone excited. But here's where the real magic—and the challenge—begins: the layout.
Layout isn't just about putting down wood. It's like solving a complex puzzle where every piece needs to fit perfectly. We start by measuring the space meticulously, snapping precise lines, and finding our center point.
Remember those geometry lessons from school? Turns out they're incredibly useful in our world! We use the 3-4-5 method to ensure our lines are perfectly squared—a technique that's both mathematical and artistic.
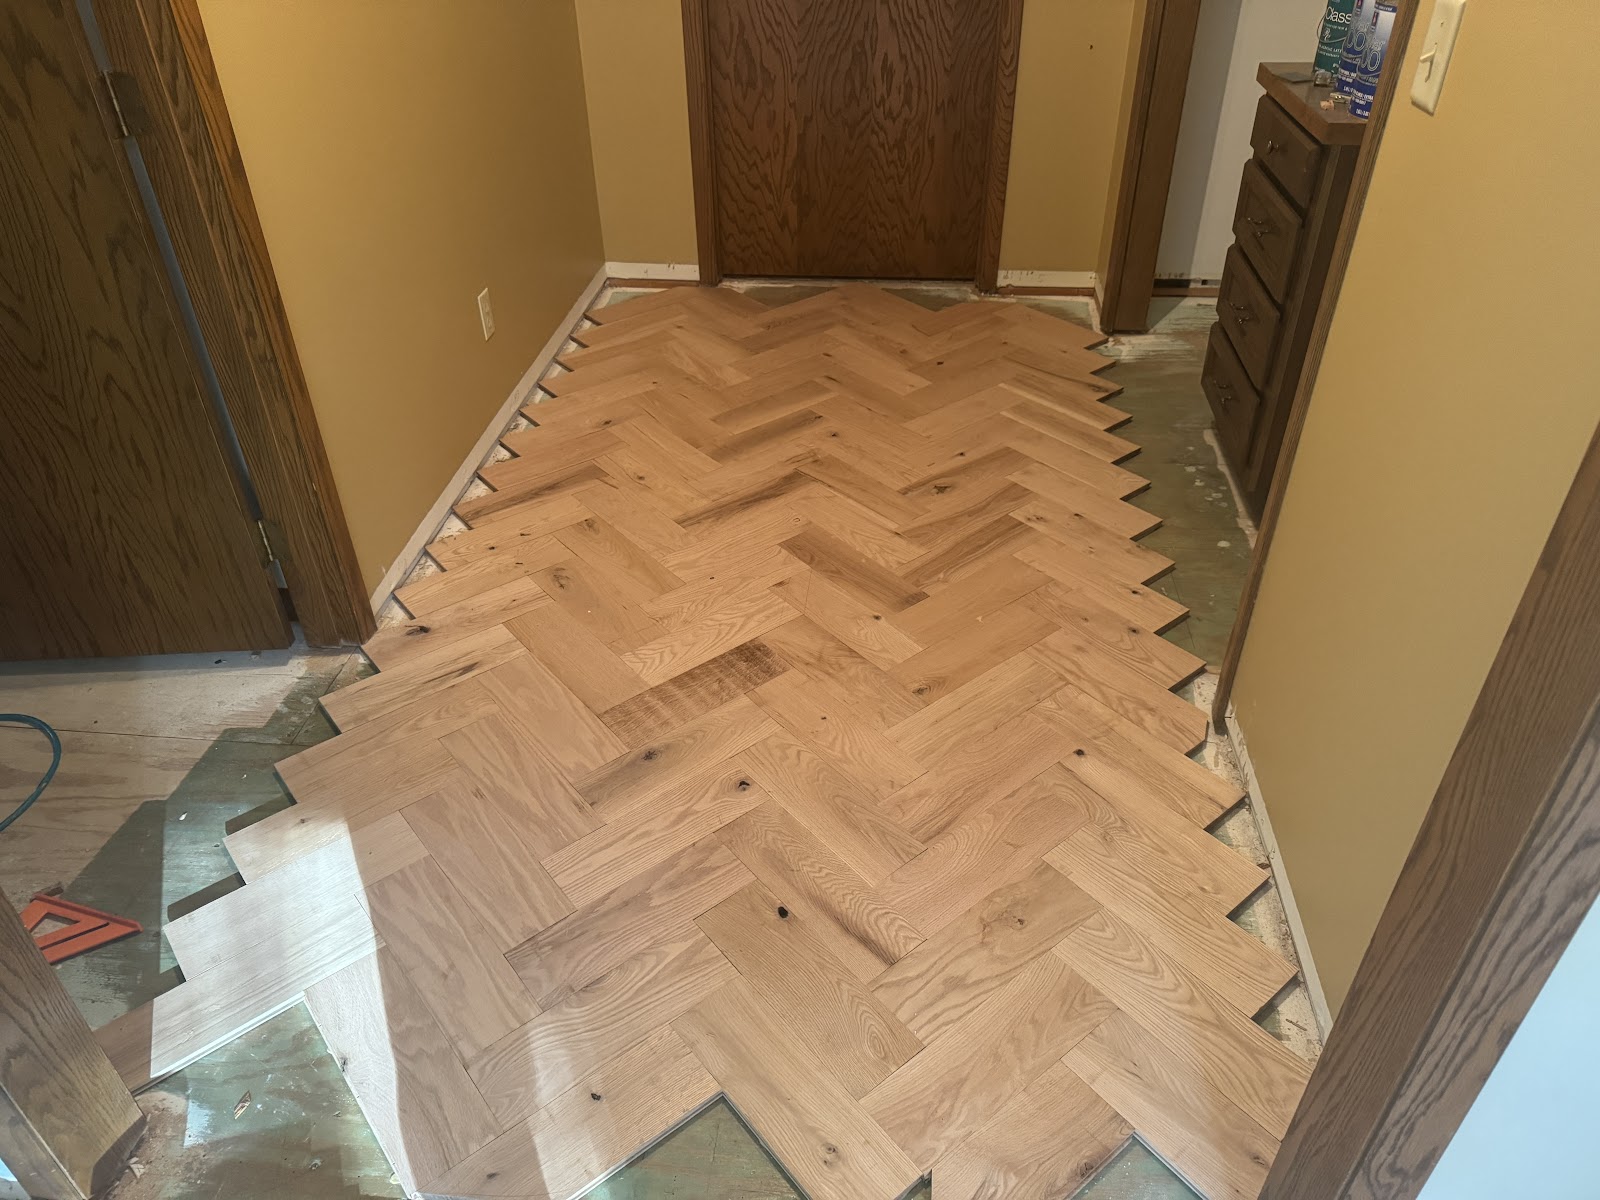
For a herringbone pattern, we snap three critical lines: the corner of each "bone" and the center where the pieces come together. It's like creating a blueprint before the first piece of wood is placed.
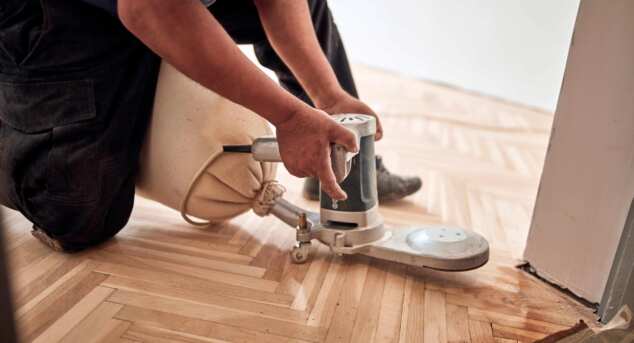
The Intricate Process
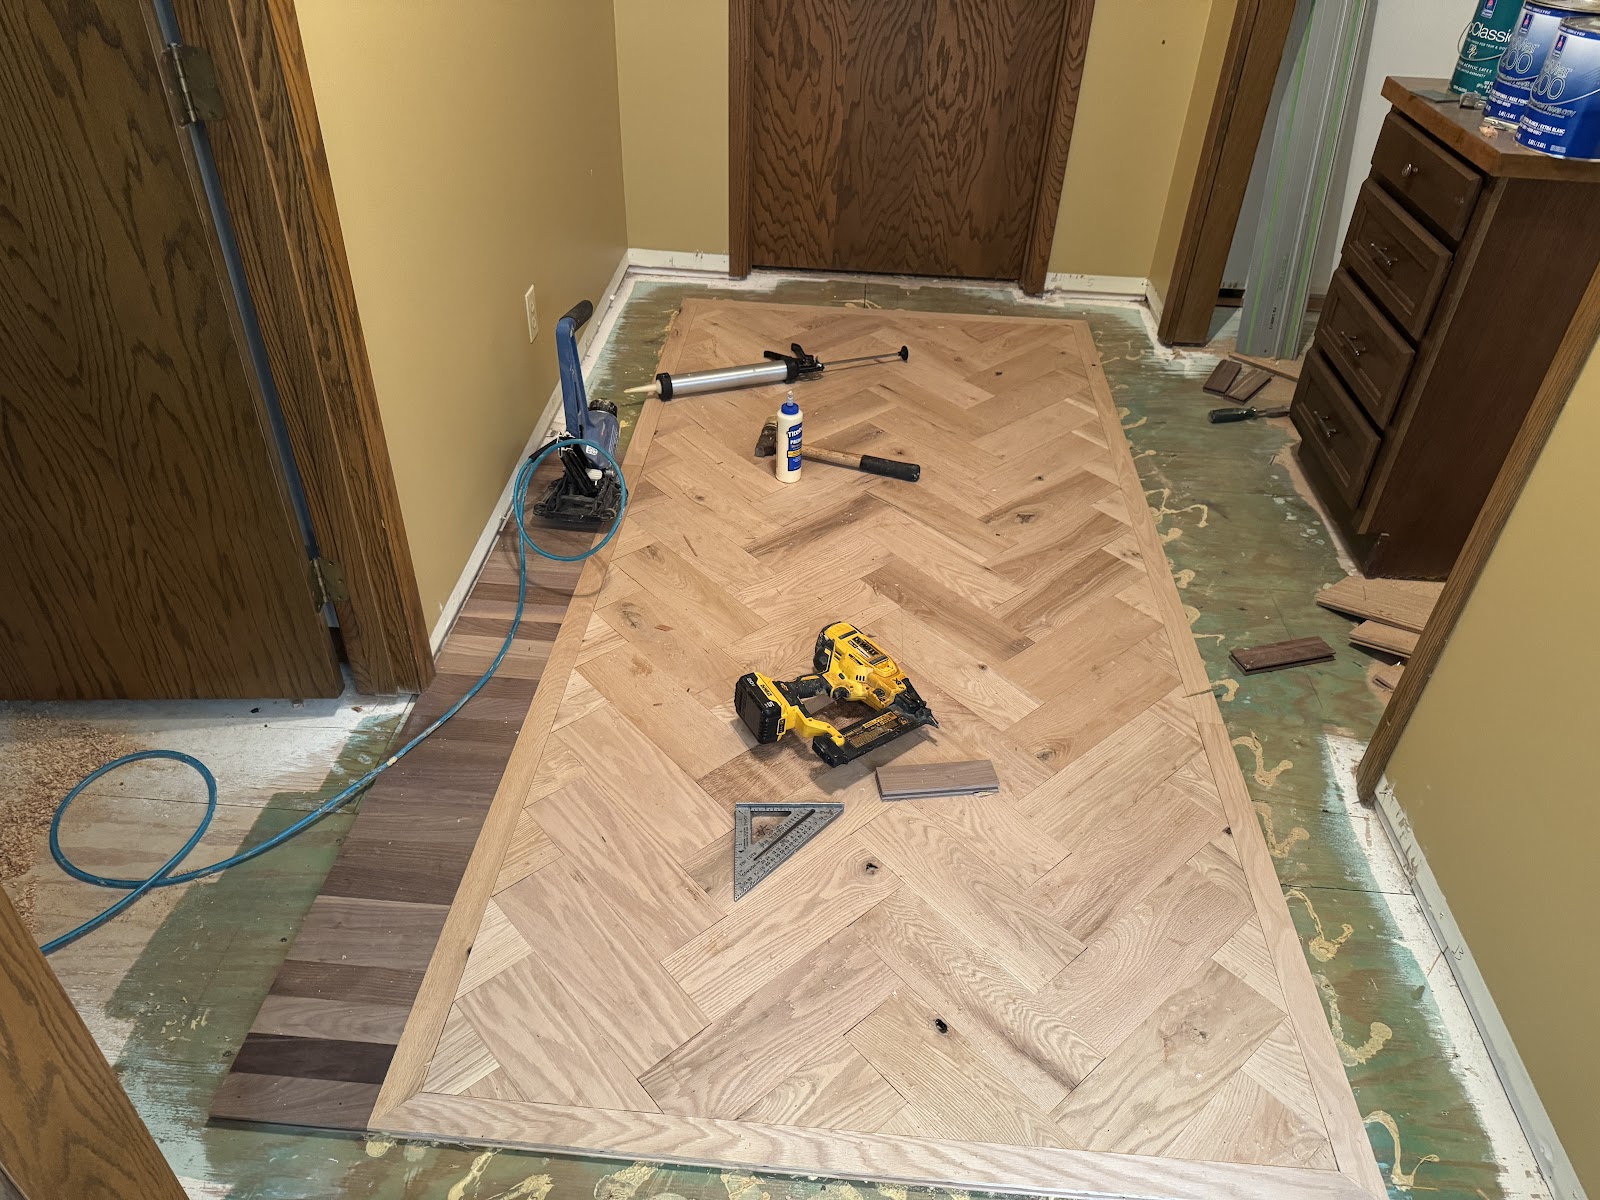
After gluing and nailing the herringbone, we let the adhesive dry overnight. The next day, we used our track saw to create clean, precise cuts, making subtle adjustments to ensure consistency. We then installed a wood piece called a slip tongue or spline, which allows the wood pieces to interlock seamlessly.
The border provided another opportunity to showcase craftsmanship. We opted for a 2" red oak border with 45-degree cuts, which we felt would create a more elegant look than a cabin corner. The walnut border, laid in soldier course (perpendicular to the walls), added a classic, timeless touch.
Creating those perfect corners and ensuring consistent width took some serious planning. By carefully spacing and trimming pieces, we achieved a look that appears effortless but represents hours of precise work.
The Finish Line
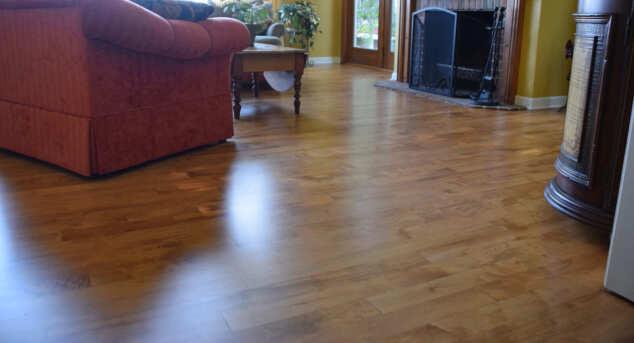
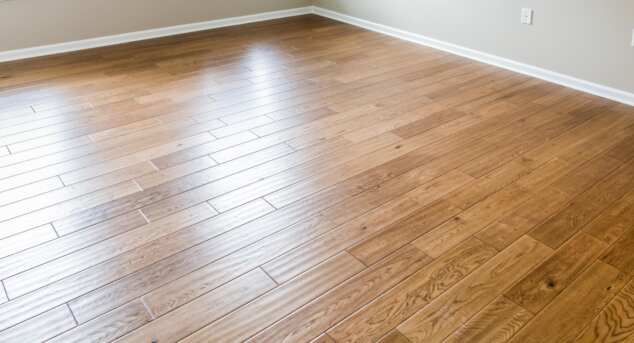
We completed the project by sanding the red oak plank floors, then staining and finishing them. The result? A transformed space where the intricate foyer design doesn't just sit separately—it ties the entire area together.
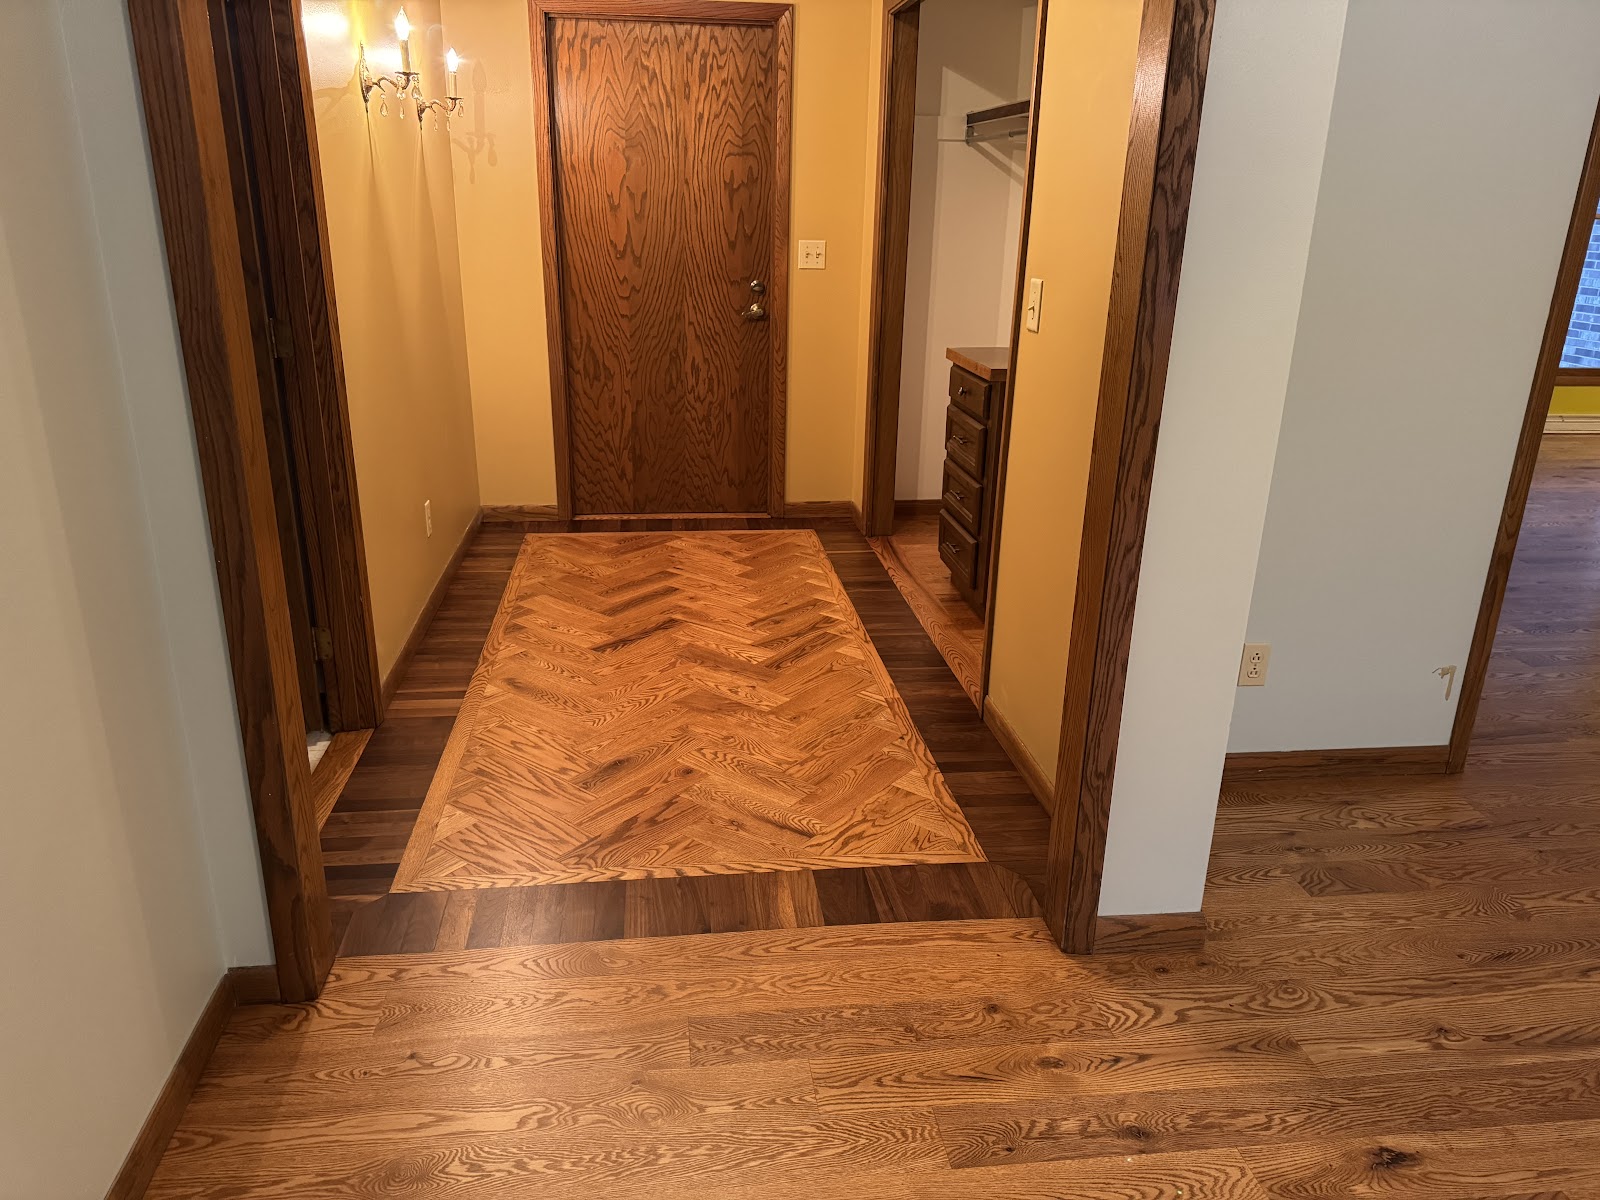
Sometimes, it's those unexpected design choices that turn a good project into an exceptional one. In this Stevens Point home, a simple foyer became a statement of craftsmanship and creativity.